
How To Create A New Profile In Outlook
1. To create a new profile in Outlook, first click on File in the top left.

2. Next, click on Account Settings, then click Manage Profiles at the bottom of the drop-down list.

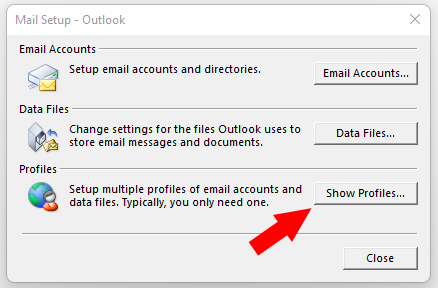
3. You will see a pop-up window, click on Show Profile.
4. On the next pop-up window click Add, then give your new profile a name; for example: OutlookNew.


5. The next pop-up window will have you confirm your display name and email address, once you have done this, click Next.

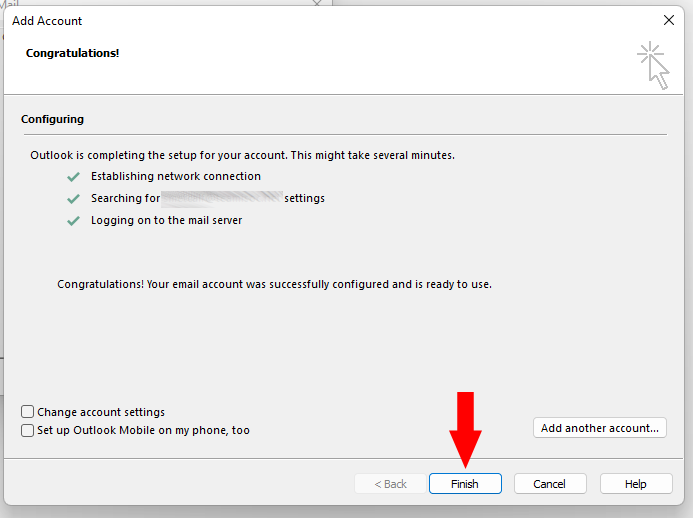
6. You may be prompted to put in your password after this step, on the next window confirm everything is correct then click Finish.
7. Once you have created your new profile, you now need to set it as the default profile. On the same pop-up window where you added your new profile, click on the drop-down menu below the radial button that reads “Always use this profile”. Then select the new profile you created and click Ok. Close the Outlook Application, then reopen it to your new profile.
