
Multi-Factor Authentication (MFA) Set Up
How to Instructions for setting up Multi-Factor Authentication (MFA) on your Microsoft 365 Account using Microsoft Authenticator
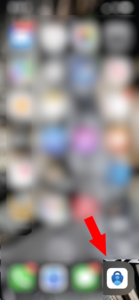
1. Download the Microsoft Authenticator App on your cell phone.
Download instructions for Microsoft Authenticator
2. Once downloaded and installed, open the authenticator app.
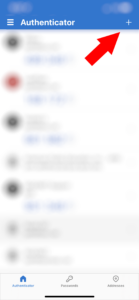
3. Press the plus sign in the upper right to add a new account.
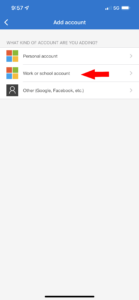
4. Add account:
-Select work or school account
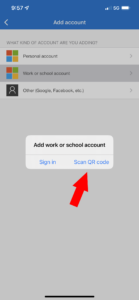
5. After selecting work or school account:
-It will bring up two options. Sign in or Scan QR code.
-Select Scan QR code.
-After selecting Scan QR code, it will bring up your camera, at this point you will not need to go any further on your phone until you complete steps 6-10 on your computer.
-Step 11 will require you to scan the QR code.
6. On your computer, open a web browser, go to office.com and press the purple Sign in button. MFA should be turned on by the Global Administrator within your organization. If you are already signed in, you will want to sign out of the account the MFA was turned on for.
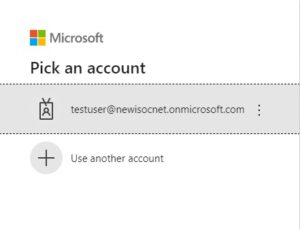
7. Pick the account you wish to Sign into. If this is your first time signing into office.com, you will need to first need to enter your full email address, press next and select work or school account. If not, you can select the account you wish to Sign into.
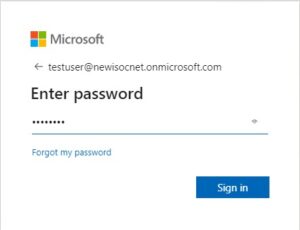
8. Enter the password for the account and press Sign in.
9. You will receive a notification on your computer that says your organization needs more information.

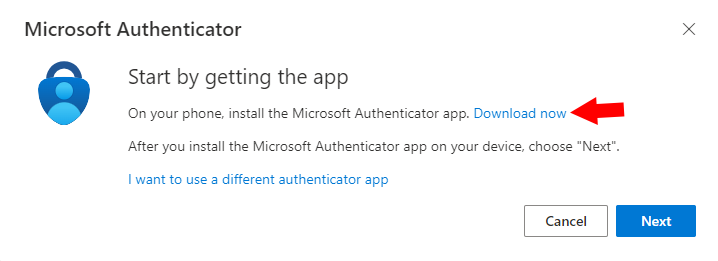
10. When you click Next you will receive a pop-up window. If you do not have the Microsoft Authenticator app already downloaded onto your phone, click the blue link the reads Download now.
11. Once you click Download now, a new tab will open. Scroll down and you will see two QR codes on the screen. One is for the Google Play store, the other for the Apple App store. Open your phone’s camera and hover over the QR code that matches your phones app store, then click the link that you will see on your phones screen. This link will take you directly to the Microsoft Authenticator app in your phone’s app store, allowing you to easily download it. If you already have the Microsoft Authenticator app on your phone, skip this step.

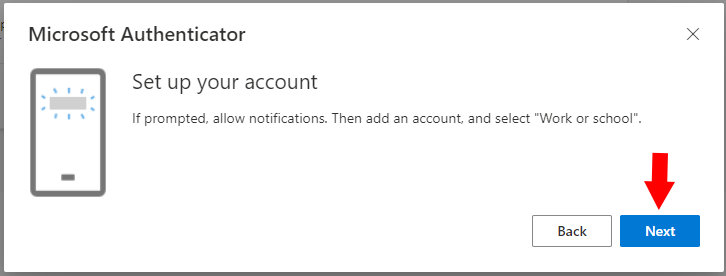
12. Once you have downloaded the app, you can now click Next twice.

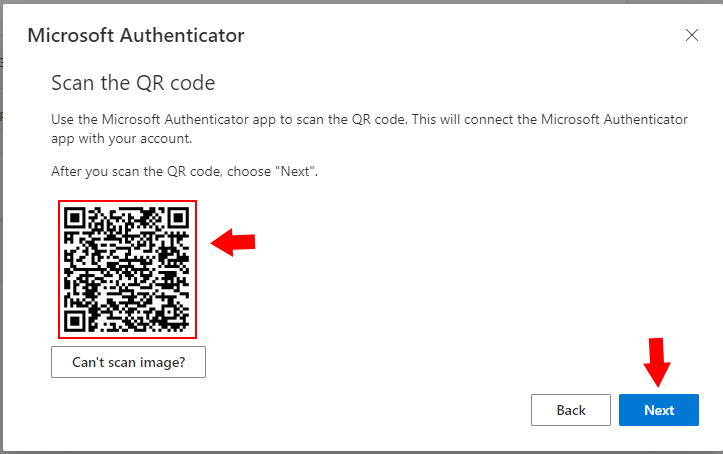
13. Next, the pop-up window will have the QR code you can scan from the Microsoft Authenticator app to add your account. You will now see your account added on the home page of the Microsoft Authenticator app. Click Next.
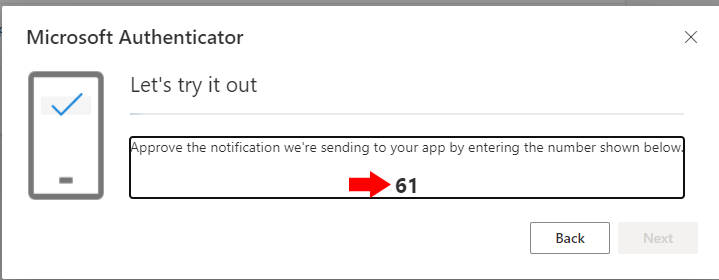
14. Next you will receive a pop-up window containing a two-digit number. Look at your phone and you should see a pop-up that reads “Are you trying to sign in?” Enter the two-digit number from your computer into the text box on your phone, and choose Yes.
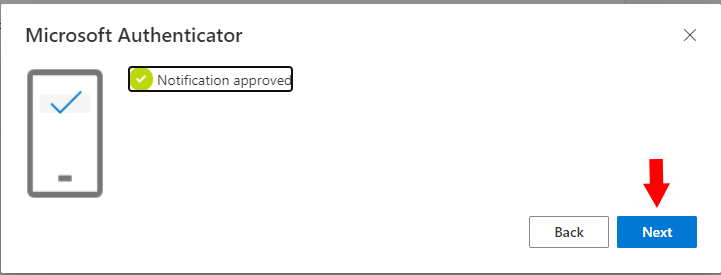
15. Once you have entered this number into your phone and chosen Yes, the next button will light up, and you can click next to finish the authentication process.
16. You should now be set up on MFA. You will need to login into your other applications to approve the Sign in.