
Safe Senders List in Outlook Web Application
These set of instructions are for add/removing/viewing the Safe Senders list
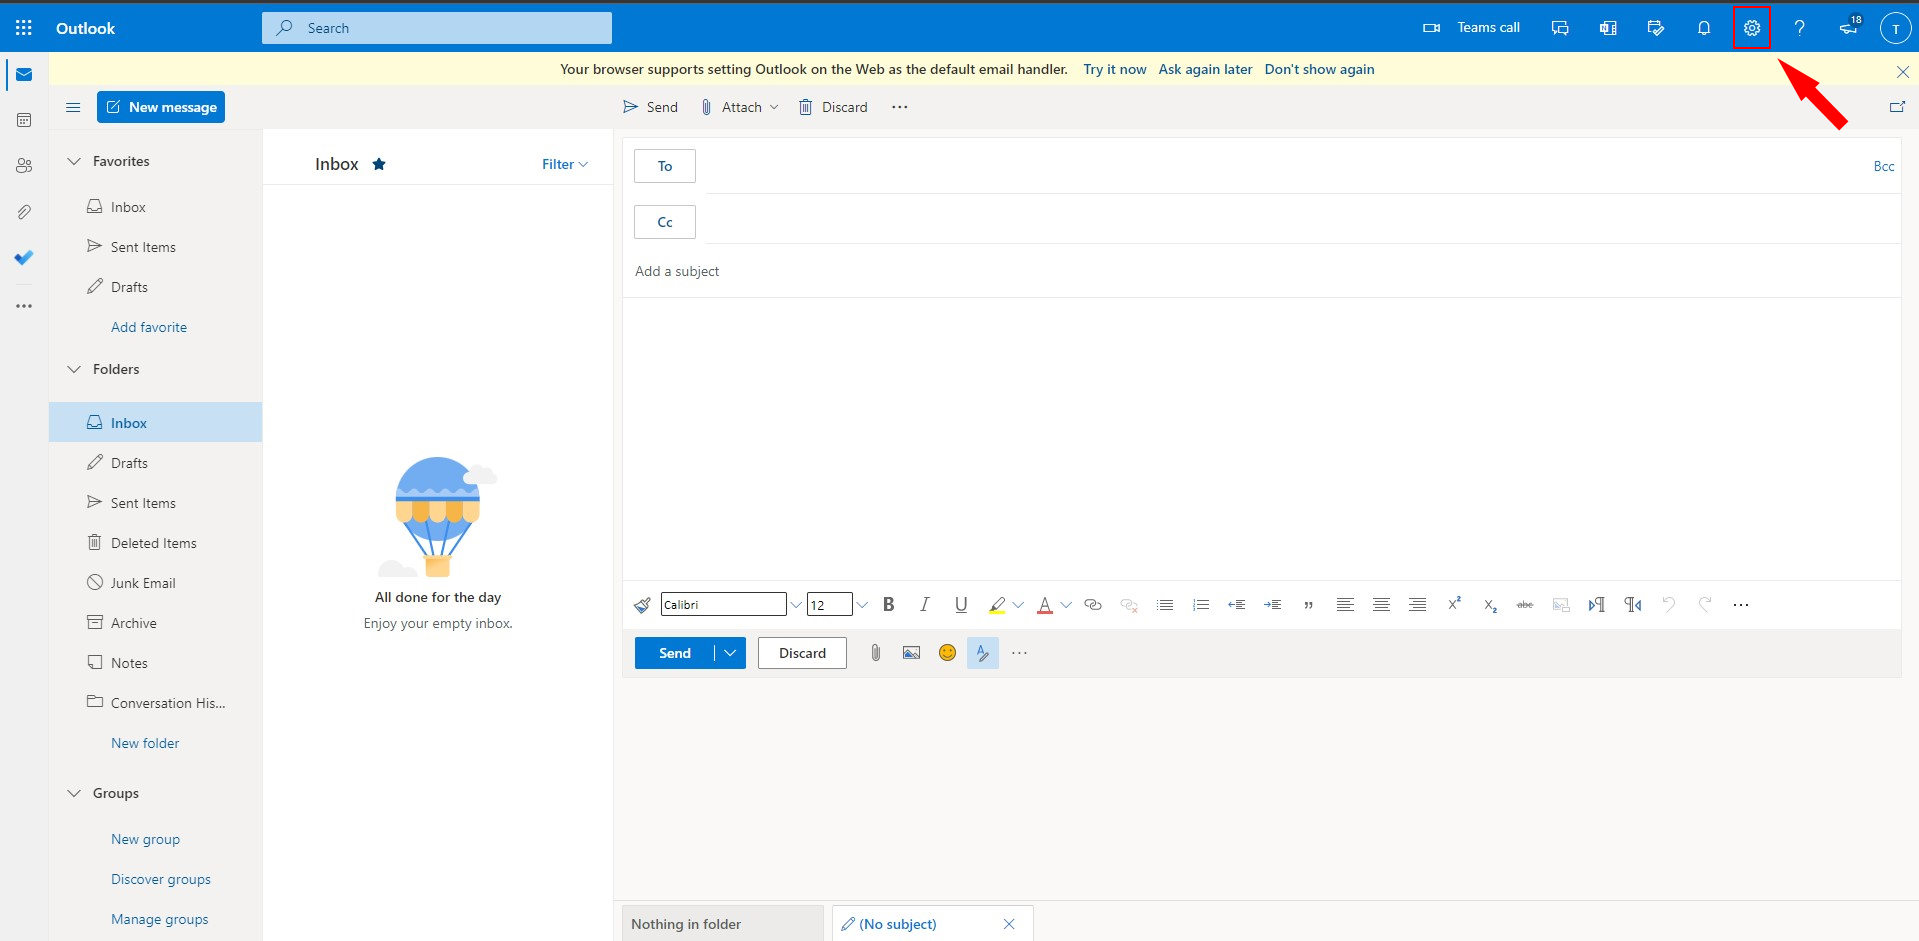
Login into your Outlook Web Application
1. Select the Settings icon in the upper right hand corner.
2. Click on “View all outlook settings in the bottom of the menu.
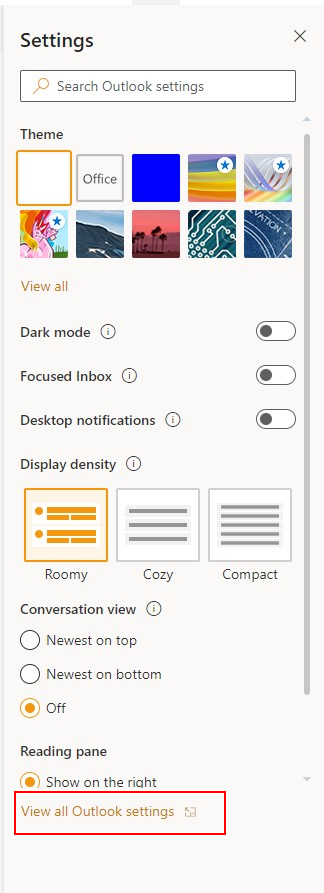
3. Click on “Mail” in the settings menu, then click the “Junk Email” selection.
This will bring up two lists
-Blocked senders and domains
-Safe senders and domains

4. Click Add on either one of those lists.
You can also edit or delete the email address and domains from these two lists
-If you would like to edit the user in the list, select the pencil next to the email address or domain in the list.
-If you have added someone by mistake, you can delete them by locating them in this list and then selecting the trash can emblem next to the use you wish to delete.

5. Enter the email address or domain into the field and press enter, this will add it to the list

5. After you enter the email address and or domain and hit enter, you will either need to save the list for it to be updated. Press on the “Save” button in the bottom right hand corner.

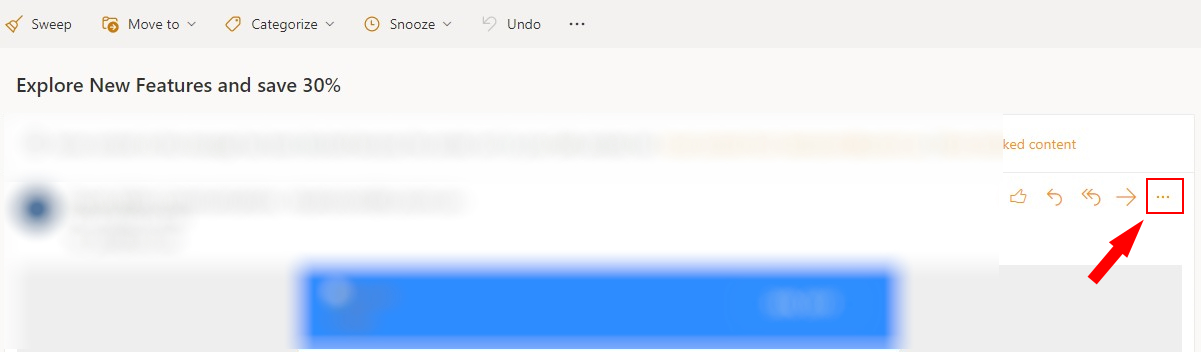
There is also a quick way to add users to the list from a received email.
7. Click on an email inside your email inbox, then click the three dots to the right of the forward email button.
This will bring up a menu options.
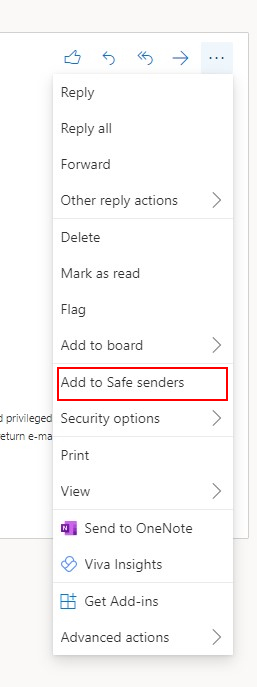
8. Select the “Add to Safe senders” button
After selecting this menu option, it will bring up another pop-up
9. If you would like to add the user to the safe senders list, select the blue “Ok” button, if not select the white “Cancel” button

10. You can then go back to the Safe senders list to view the added user in the list of approved senders.
11. You have now added users to the Safe senders list and they will no longer be filtered to your Junk folder.