
How to add/remove/view contacts in Outlook Web Application
These set of instructions were created to give a better idea on how to manage your contacts through the Outlook Web application.
1. On the left hand side, select the button with what looks like two people.

2. Once you click on the contacts button, it will open the below:
-It gives you multiple different options. The first is your current contacts.
-Here is where it will list if you have any contacts.
3. You can press the “Add a contact” or “New contact” button.

-From here it will open a pop-up:
-Enter the contacts information and press the “Create” button.

4. The other option on this page is to “Import contacts”
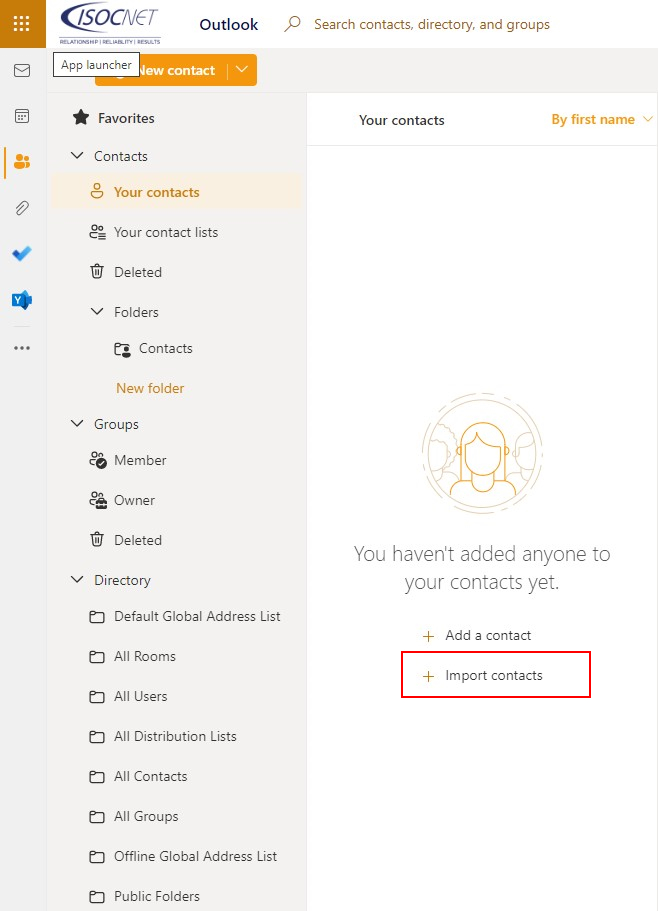
-This option is if you export your contact list from another mail provider and it has been saved to a CSV file. (Not common)

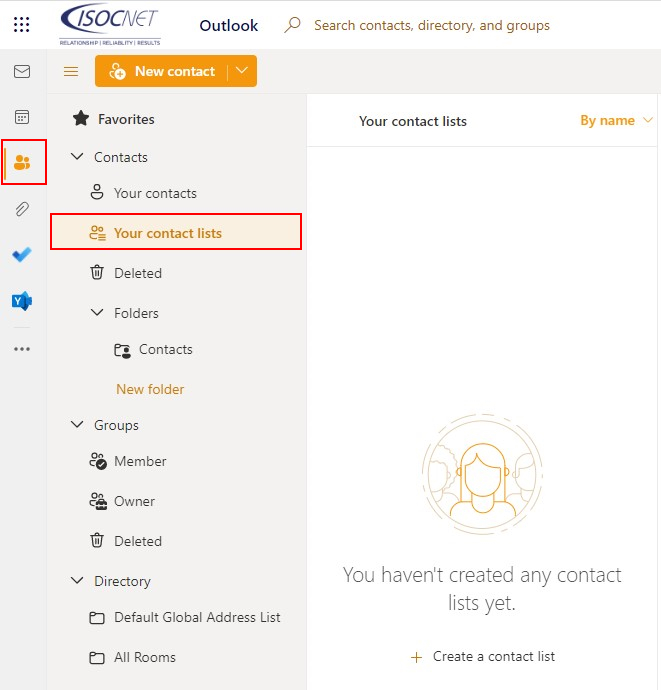
5. The next option is “Your contact lists”
-This will show you a list of your current contacts, you will also be able to create a contact list from this section.

-When creating the contact list you will need to name the list.
-Then you can add each individual email address that you would like to be associated with this list. After typing the email address, press the “Add” button directly to the right.
-Once done adding, select the “Create” button. You contact list will now show in the your contact list.

6. The deleted section will show all deleted contacts and contact lists.
7. Groups has 3 categories:
-Member will show the groups that you are a member of
-Owner will show the groups that you have created and are the owner of
-Deleted will show all deleted groups
8. Directory will be set up by your organization, the different fields will list the contact names and distribution lists.