How To Add Rules In The Outlook Desktop Application
1. To add a rule, click on the “New Rule…” button as shown below.

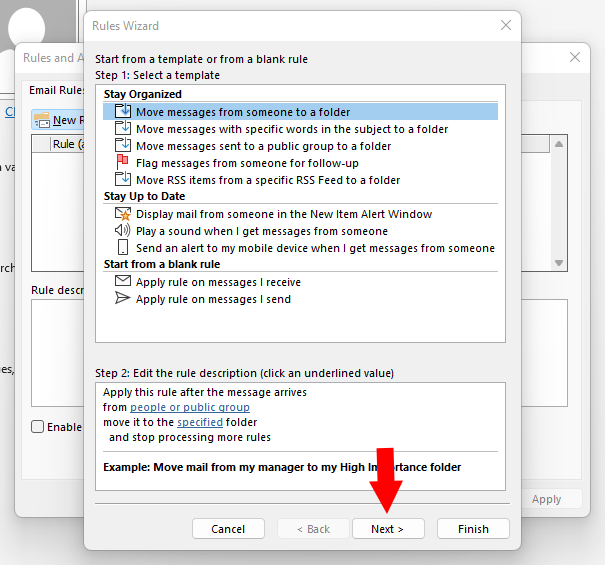
2. Next, you will want to choose a rule template, or start with a blank rule. These are organized into three different sections.
-
- Stay Organized
- Stay Up to Date
- Start from a blank rule
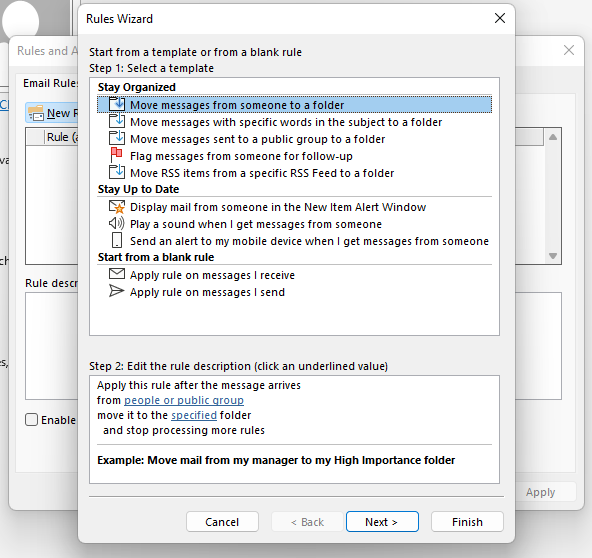
3. Once you have selected your template, or selected a blank rule, click “Next. >”
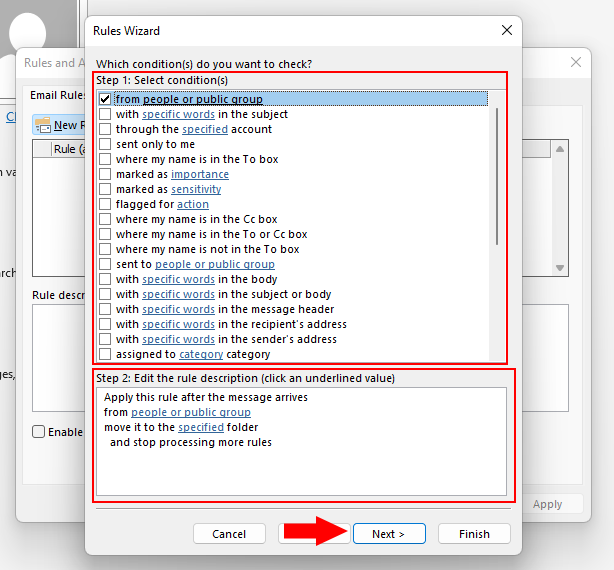
4. You will then be asked to set condition(s) and edit the rule description. After you have selected your condition(s) click the “Next >” button.
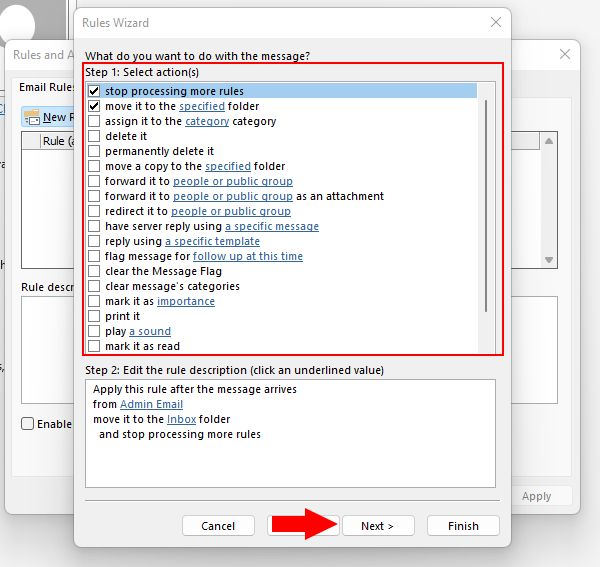
5. After setting your condition(s) and editing the rule description, you will be asked to “Select action(s). After you have selected your action(s) click the “Next >” button.
6. The next screen will ask you if you would like to add any exception(s). Once you are done selecting on any exception(s) you would like to choose, click the “Next >” button.

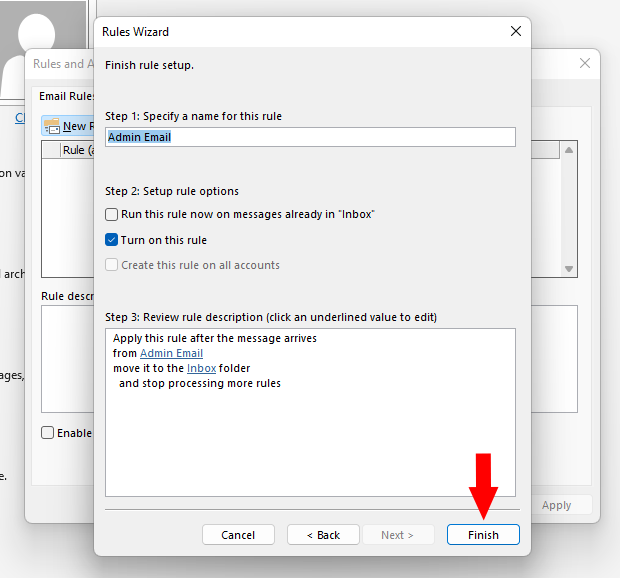
7. Lastly, we will need to create a name for this rule. Once a name has been created, there are three rule options to select from as well.
-
- Run this rule now on messages already in “your email address.”
- Turn on this rule
- Create this rule on all accounts.

8. Once all the fields have been filled in, click “Finish” in the bottom right corner, and this will create the rule